Setup WordPress multisite the easy way…
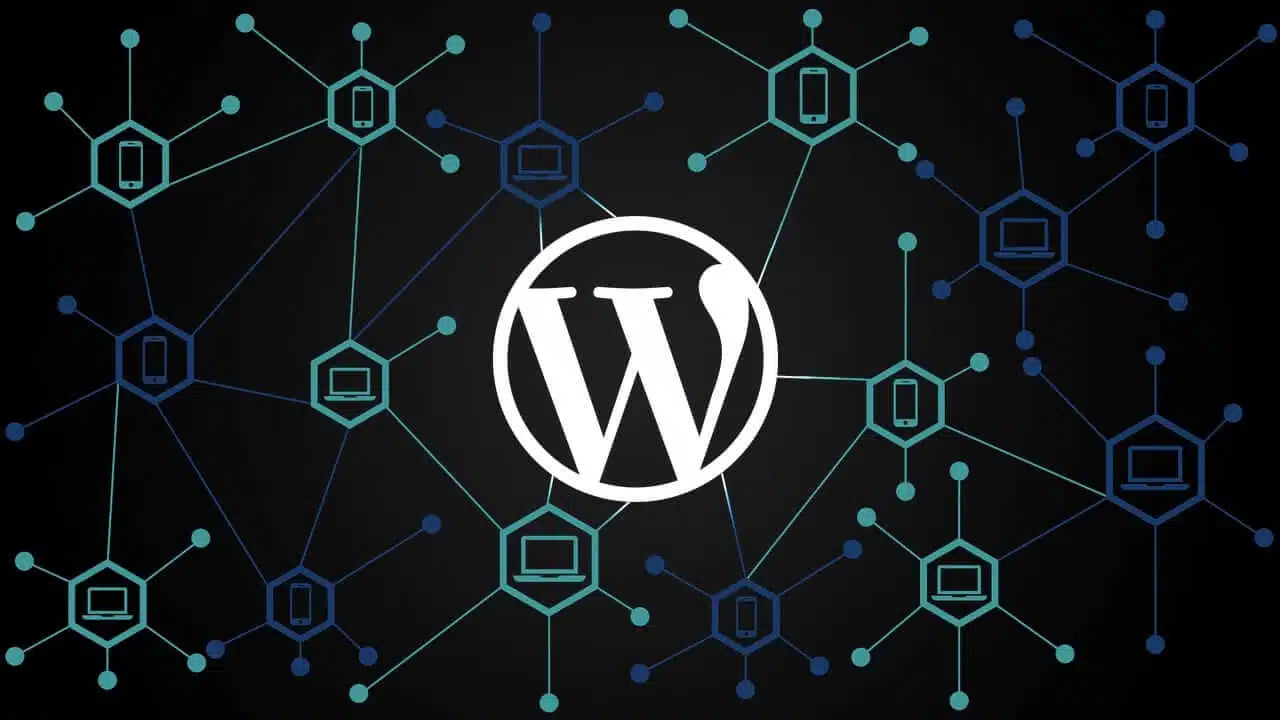
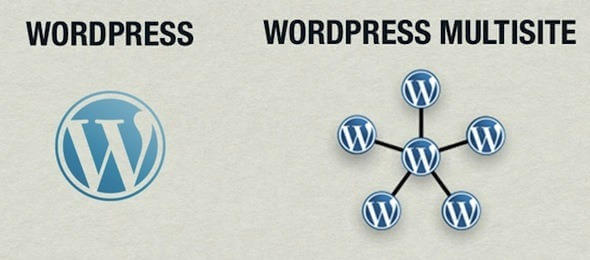
If you are thinking of installing several websites by using only one WordPress install, then WordPress is your best bet. A simple activation of the multisite feature will get you started on multisite network. Basically, all these websites will be powered by one core file.
A common database is utilized for all the websites, however, discrete tables are made for each website. Themes and plugins are common and every website will have its unique directories for uploading related media.
In this article, we will look at the benefits of using a WordPress multisite. As a bonus, I will also show you how to set up this feature and get it working.
Multisite Feature – Setup WordPress Multisite
The Multisite feature works on any WordPress installations. But it fails to run on the default URL structure as WordPress requires correct names for sub directories and sub domains.
Multisite Activation – Setup WordPress Multisite
Activation of multisite is easier on new WordPress installations. You can simply wipe the plate and re-install WordPress.
In case of activation on a live website, be advised to make a backup of your files before you get going just in case anything goes wrong and you want to roll back.
For new users, it is sensible to run multisite on a test website first.
First paste the following code in your wp-config.php file.
/* Multisite */

define( 'WP_ALLOW_MULTISITE', true );
It can be put anywhere above the /*That’s all, stop editing! Happy blogging.*/ line.
Failure to include this code will show “Not Defined Multisite” error and will prevent you from modifying the network setup page.
Network Setup – Setup WordPress Multisite
After saving the file, the tools menu will show a new selection “Network Setup” (www.yourdomain.com/wp-admin/network.php).
Before continuing, deactivate all of your WordPress plugins. It is a cautionary measure to avoid any conflicts.
Now about the installation page – Setup WordPress Multisite
Here, you will get a warning message that recommends you to rename your site URL to yourdomain.com instead of www.yourdomain.com. You will still be allowed to proceed even with the warning. Removing the prefix will make the warning will go.
You will notice that a new warning is shown because our test website is installed in a sub directory (mydomain.com/wordpress/). If installation of WordPress is done in the root, you be shown this warning. This will happen only if your WordPress website is older than 30 days.
In order to prevent permalink confliction between pages or even sites that will happen with sub directory installations, WordPress makes you choose sub domains.
For activation on a new WordPress installation, one can opt for sub domains or sub directories.
After choosing or get it chosen for you, WordPress will ask for your network details. Just providing your network name and admin email address will suffice.
Now click the install button. The multisite tables that are needed for your WordPress database will be automatically included by WordPress.
The page will redirect to the next requirements for installation. Once there, you will be needed to add the given code to your wp-config.php file and .htaccess file.
If you had backed up all your files earlier, you will find a copy of your wp-config.php and .htaccess file there. If you haven’t backed them yet, please do so now.
Note that the above code must be added to your wp-config.php file before the /*That’s all, stop editing! Happy blogging.*/ line. Our advice would be to place the code only after the multisite definition line which we added previously.
After modifying the wp-config.php and .htaccess files, please reload your browser. Login again when asked. Now you will be redirected to your network dashboard.
Mapping your domains with your WordPress Network can be done by installing a simple plugin. The most widely used plugin for easy mapping is WordPress MU Domain Mapping.
To install it, point and click at My Sites >select Network Admin > Plugins.
Now, for activating MU Domain Mapping plugin, copy the sunrise.php file to your /wp-content folder. Sunrise.php is present in the MU Domain Mapping plugin folder.
To enable sunrise, we will be needed to edit the wp-config.php file again. On refreshing your browser, the instruction to add a code will be shown in the same way as earlier.
Adding a New Website – Setup WordPress Multisite
To begin, a new user must be added to the network that you wish to add to this new site. Single user sites that don’t need a new user – skip the following step.
Go to the dashboard. Click on Users > Add New. Just follow the given steps to complete.
Now we can add a new site to allocate it to the user. Log in as the Network Admin. This gives you the required authorizations to add new sites. To add sites, in Sites menu, click Add New. You will be asked to fill out the name of the sub-directory or domain. It is the same as the ones given earlier. Following that, you will give the site title and the admin email.
Once completed, the newly added site along with details can be seen in the sites list.
The final step can be done in 2 ways. Either login as the Network Admin or do it through the new user login. Go to the dashboard of the new site. Navigate to Tools >select Domain Mapping. Once you are redirected to the domain mapping page, give the URL of your new site to.
Wrap Up – Setup WordPress Multisite
That’s it! You have successfully set up your first WordPress Multisite Network.


