
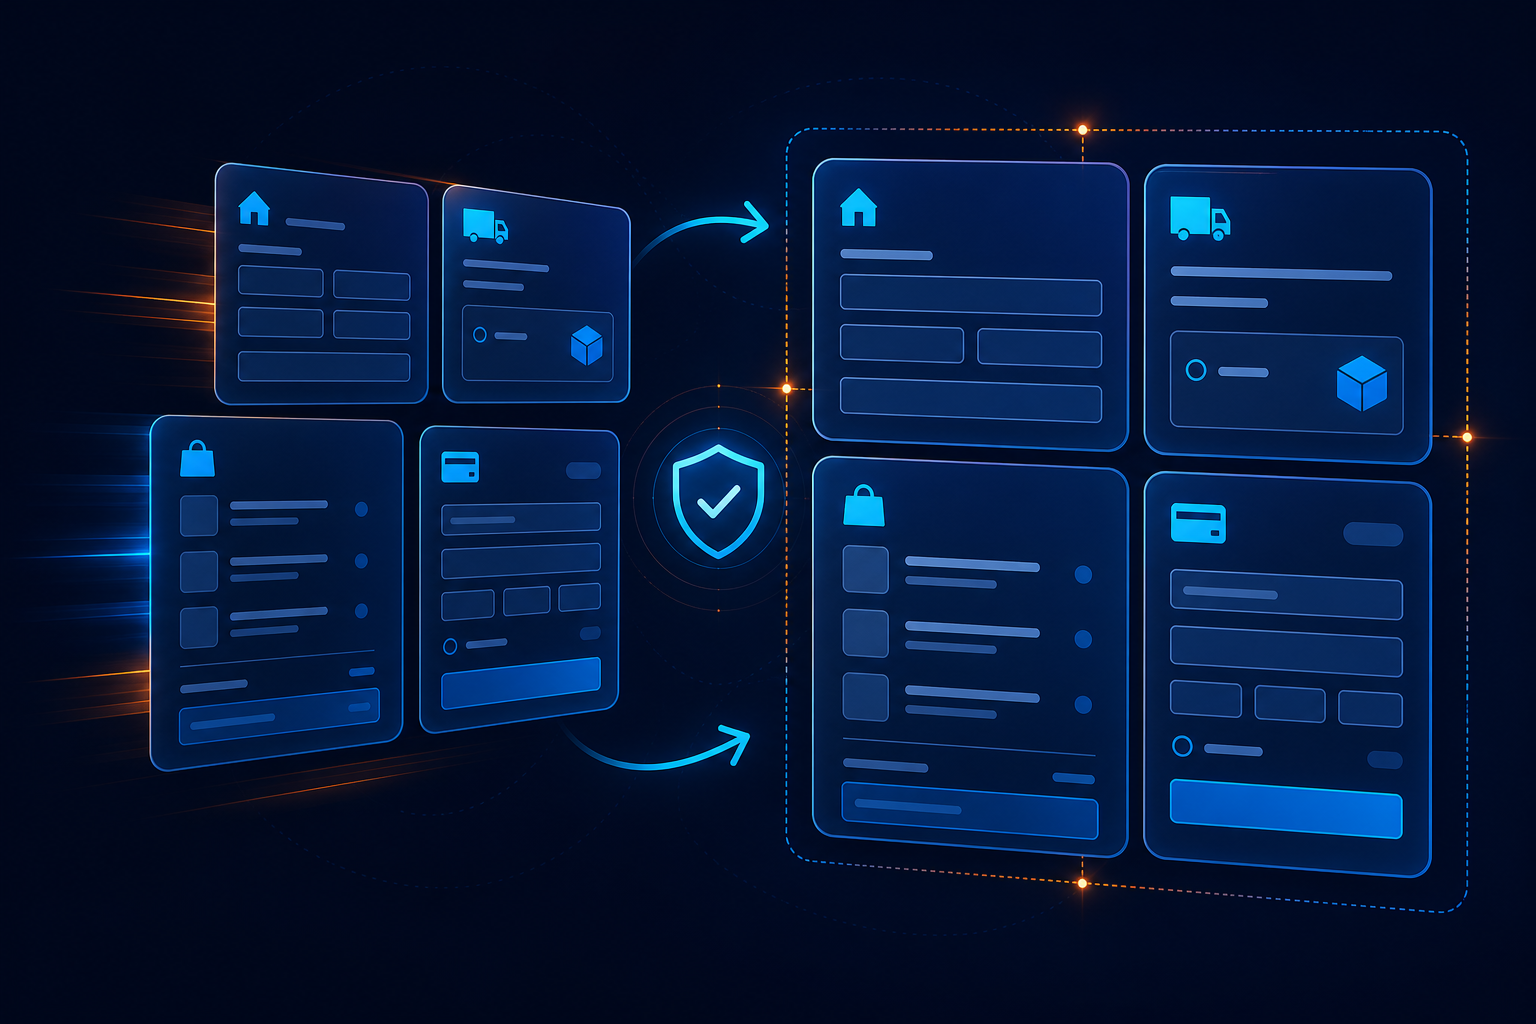

To change the WooCommerce checkout page, first identify what you want to change: the page assigned to checkout, the fields customers complete, the visual layout, or the checkout process itself. These are different settings, and using the wrong method can remove payment fields, break shipping calculations, or leave customers unable to place orders.
In this guide
The safest workflow is to make a backup or staging copy, change one layer at a time, and test a complete order afterward. This guide covers the practical options for changing the WooCommerce checkout page without editing production files unnecessarily.
Before changing the WooCommerce checkout page
Make these checks before editing anything:
- Confirm that WooCommerce is active and record its version, your theme, and any checkout-related plugins.
- Take a database and file backup, or work on a staging site provided by your host.
- Make a note of your current checkout URL under WooCommerce settings so you can restore it.
- Keep a test product available with a known price, tax status, and shipping requirement.
- Have a test payment method ready. Do not use a live payment method for an order unless you intend to complete or refund it.
Checkout is generated dynamically. It may contain fields and sections supplied by WooCommerce, your theme, payment gateways, shipping extensions, tax tools, analytics scripts, and custom code. A change that looks cosmetic can therefore affect the whole order process.
1. Change which page WooCommerce uses for checkout
If you want checkout to appear at a different URL, create or choose the page first, then assign it in WooCommerce. Exact labels can vary slightly by WooCommerce version, but the page assignment is found in the WooCommerce settings area under the section for account, privacy, or advanced page configuration.
- In the WordPress dashboard, create a new page or open the page you want to use.
- Give it a clear title and a simple slug, such as
checkoutorsecure-checkout. - Open WooCommerce settings and locate the page configuration area.
- Choose the new page in the Checkout page selector, if that selector is available in your version.
- Save the settings.
- Open the checkout URL in a private browser window and confirm that the cart, customer fields, shipping, and payment method appear.
Do not create multiple pages containing checkout markup and assume WooCommerce will automatically know which one is active. The assigned page is the one WooCommerce uses for its checkout endpoint and related links.
Classic shortcode checkout versus Checkout block
Older WooCommerce stores commonly use the shortcode
Open the page in the WordPress editor and determine whether it contains the Checkout block or the shortcode. Do not replace one with the other on a live store without testing payment, shipping, taxes, coupons, and order creation on staging first.
2. Edit the checkout layout with the Checkout block
If your checkout page uses the WooCommerce Checkout block, you can usually modify its visible structure through the block editor. This is the least technical way to change the checkout layout.
- Open the assigned checkout page in the WordPress editor.
- Select the Checkout block rather than editing a random surrounding paragraph or group.
- Use the block settings and inner sections to review available options.
- Change only the sections you need, such as customer information, order summary, shipping, or payment presentation.
- Save, then test the page while logged out.
Available controls depend on your WooCommerce version, theme, payment extensions, and block support. If a payment method or required field disappears, undo the change and test the gateway integration before continuing.
For general WordPress editor guidance, consult the official WordPress Documentation.
3. Remove or rearrange checkout fields carefully
Many store owners mean “change the checkout page” when they actually want to remove unnecessary fields or change their order. For example, a digital product store may not need a shipping address, while a physical store normally does.
First check whether your checkout or field-editor plugin provides a supported settings screen. If it does, use that interface rather than adding PHP snippets from an unverified source. Field behavior can depend on product type, shipping destination, tax rules, account creation, and payment gateway requirements.
Fields that deserve extra caution
- Email: WooCommerce and many payment, order, and receipt systems rely on it.
- Country and state: These can control available shipping methods and tax calculations.
- Postcode: Shipping rates and tax rules may depend on it.
- First and last name: Fulfillment and payment records may use them.
- Terms and conditions: Removing this without understanding your legal and store requirements can create compliance problems.
- Payment fields: These are often inserted by the gateway and should not be hidden with CSS or removed casually.
Changing a field label is generally lower risk than removing a field. If you remove or make a field optional, test logged-in and guest checkout, domestic and international addresses where applicable, coupon use, and both physical and virtual products.
4. Change the checkout page design with your theme
For colors, spacing, typography, buttons, and widths, use your theme’s site editor, customizer, or documented WooCommerce styling options when available. The exact navigation depends on whether the site uses a block theme or a classic theme.
Make visual changes in this order:
- Use the Checkout block or theme editor controls.
- Use the theme’s additional CSS area for small, presentation-only adjustments.
- Use a child theme or a properly maintained custom plugin for deeper template or behavior changes.
Do not hide important checkout elements with CSS simply because they look inconvenient. A hidden payment error, required address field, or gateway control can make checkout appear complete while preventing the order from being submitted.
CSS example for a narrow, centered checkout wrapper
A styling rule should be tested against your theme because class names and markup can differ:
.woocommerce-checkout form.checkout {
  max-width: 960px;
  margin-left: auto;
  margin-right: auto;
}
This changes presentation only; it does not remove fields or alter checkout logic. Add CSS through a staging site or your theme’s supported custom CSS area, then verify desktop and mobile layouts.
5. Use a custom checkout template only when necessary
A template override can change the structure of a classic WooCommerce checkout, but it is a developer-level change. Templates may change between WooCommerce releases, and an outdated copy can cause warnings or prevent newer checkout features from working.
Before using an override:
- Check WooCommerce’s template status screen for outdated overrides.
- Confirm the template is appropriate for your checkout type; block checkout and classic checkout are not interchangeable.
- Use a child theme or a custom plugin rather than modifying the parent theme.
- Record the original file and create a rollback copy.
- Review the override after WooCommerce updates.
Never edit WooCommerce plugin files directly. An update can overwrite the change, and a mistake can affect every customer. For reference material about extending WordPress safely, use the official WordPress Developer Resources.
6. Change checkout behavior with hooks or a plugin
Use a plugin or custom code when the requirement is behavioral rather than visual—for example, showing a field only for a particular product, adding a delivery instruction, or changing validation.
Before installing a checkout-field or checkout-customization plugin, check whether it supports your checkout type, payment gateways, block-based checkout, and current WooCommerce version. A plugin designed for the classic shortcode checkout may not control a block checkout.
Custom PHP belongs in a custom plugin or child-theme functionality file managed by someone who can debug PHP. Do not paste code into functions.php on a production site without a backup and a recovery plan. A syntax error can trigger a critical error or lock you out of the dashboard; see how to fix a WordPress critical error if that happens.
7. Change the checkout page without breaking caching
Checkout, cart, and account pages should not be treated like ordinary public content. Page caching, JavaScript optimization, CDN rules, and security plugins can serve stale or incomplete checkout data.
After changing checkout:
- Purge the WordPress cache, host cache, and CDN cache if your setup uses them.
- Confirm that the checkout URL is excluded from full-page caching where your host or cache documentation recommends it.
- Do not cache pages containing customer-specific cart or account information.
- Test in a private window so an administrator session or browser cache does not hide the problem.
If the page looks correct for administrators but fails for visitors, compare a logged-out test and temporarily check optimization or firewall controls. For browser-specific problems, this guide on WordPress sites that break in one browser can help isolate the cause.
How to verify your new checkout
A checkout page is not successfully changed until a complete test order works. Use this sequence after every significant edit:
- Empty the cart and add a test product.
- Open checkout in a private browser window on a phone-sized screen and a desktop screen.
- Test as a guest and, if accounts are enabled, as a logged-in customer.
- Enter an address that should produce a known shipping method and tax result.
- Apply and remove a coupon if coupons are enabled.
- Check that required fields show clear validation messages.
- Select each important payment method in test mode.
- Place a test order and confirm the thank-you page, order status, customer email, and store notification.
- Check the order in WooCommerce and confirm the address, totals, shipping, tax, and payment details.
Use the browser developer tools console and network panel only when a feature fails silently. Look for failed requests or JavaScript errors at the moment you select shipping, change an address, or submit payment. Do not expose customer or payment data in screenshots or support tickets.
Quick decision guide
- Need a different checkout URL? Change the page assigned in WooCommerce settings.
- Need to rearrange visible sections? Edit the Checkout block, if the page uses block checkout.
- Need different fields? Use a compatible checkout-field plugin or carefully maintained custom code.
- Need new colors, spacing, or fonts? Use theme controls or targeted CSS.
- Need custom validation or conditional behavior? Use a compatible extension or developer-maintained hooks.
- Checkout changed after caching or optimization? Purge caches and review checkout exclusions.
Questions to ask when checkout changes fail
Why does my new checkout page show a blank area?
Confirm that the page is assigned in WooCommerce and contains the correct Checkout block or shortcode for your setup. Then test with plugins that optimize, cache, or alter checkout temporarily disabled on staging. A blank area can also result from a JavaScript error or an incompatible extension.
Why did my payment method disappear after editing checkout?
Check the payment gateway’s settings, supported currencies, country restrictions, minimum order rules, and browser console errors. Restore the last checkout layout change, clear caches, and test the gateway by itself before changing more fields.
Can I use Elementor or another page builder for WooCommerce checkout?
Only if the builder and its WooCommerce integration explicitly support your checkout type. Confirm whether it supports the Checkout block, classic shortcode checkout, your payment gateways, shipping updates, and guest checkout. A visually attractive page is not enough if it cannot submit a valid order.
What should I do if the checkout works on staging but not on the live site?
Compare active plugins, theme versions, PHP settings, cache layers, CDN rules, SSL configuration, and payment credentials. Purge live caches and inspect the browser network panel. If the issue affects real customers or payment capture, pause further edits and use a WordPress Site Repair service to investigate safely.
What to do if the change still does not work
Restore the last known-good checkout layout, clear all relevant caches, and test with one change at a time. If the problem began after a plugin or theme update, compare the site on staging with the previous version and use the extension author’s documented compatibility guidance.
Keep a record of the exact page assigned, checkout type, plugins changed, test product, browser, and error details. That information makes troubleshooting substantially faster and helps prevent a temporary fix from becoming a production checkout failure.